Heat Transfer Plates for Every Hydronic Radiant Floor
Aluminum heat transfer plates for joist-space retrofits, above-subfloor new construction, radiant walls and ceilings, and low-temperature heat pump and condensing boiler systems. Extruded and stamped plates spread PEX tube heat across the whole floor at lower supply water temperatures, with the contact and fastening detail that keeps them quiet.
aluminum spreads tube heat across the plate, not just the strip above the tube.
Cooler water
plated floors typically run lower supply temperatures than plateless installs.
8 or 12 in
common on-center tube spacing that plate widths are made to match.
The fundamentals
How a Heat Transfer Plate Works
Warm water in a PEX tube heats the tube wall. On its own, a tube stapled under a subfloor gives that heat to the air in the joist bay, and the air slowly warms the wood above it. Air is a poor conductor, so the path is weak: the tube has to run hot, the floor warms slowly, and the strip directly over the tube ends up warmer than the wood between runs. A heat transfer plate replaces that air path with metal. Aluminum wrapped around the tube pulls heat out of the wall by conduction and moves it sideways across the plate, so a band of subfloor several inches wide is heated at nearly the tube temperature instead of a narrow stripe.
The result is more output from the same tube at the same water temperature, or the same output at a lower water temperature, which is usually the point. Lower supply water is what lets a wood-framed floor be heated by a condensing boiler, an air-to-water heat pump or a solar loop, and it keeps hardwood and engineered flooring within their surface temperature limits. Because the plate carries heat rather than storing it, a plated floor also responds faster to a change in water temperature than a plateless bay or a thick slab.
Everything depends on contact. The heat crosses from tube to plate only where the two touch, so the groove has to match the tube diameter and hold it snugly along the whole plate length, and the plate has to lie flat against the wood so the second crossing, plate to subfloor, is metal to wood rather than metal to air. Thick extruded plates with a rounded groove make both crossings well. Thin stamped plates make them adequately. A plate hung loose or a tube rattling in an oversized channel makes them poorly, and the floor performs as if the plates were not there.
Aluminum plate body
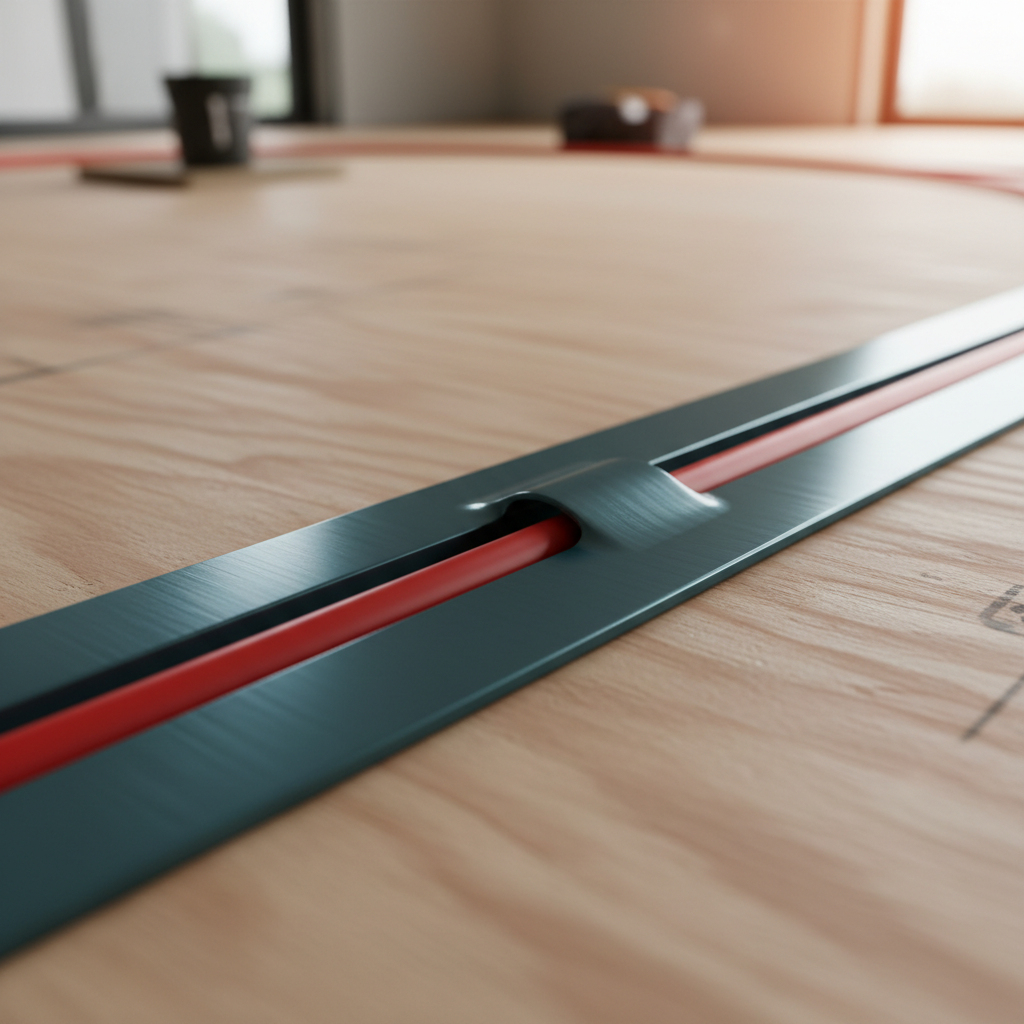
A flat sheet or extrusion of aluminum, typically 4 to 6 inches wide and 2 to 4 feet long, that lies against the subfloor, wall sheathing or ceiling. Aluminum is chosen because it conducts heat far better than wood or air and stays light enough to hang from staples.
Tube groove
A formed channel, omega-shaped, C-shaped or a simple U, sized to a specific tube diameter. The groove is where the heat crosses from tube wall to metal, so its fit governs performance. A snug groove conducts; a loose one leaves an air gap that insulates.
Wings and fastening flanges
The flat areas either side of the groove spread heat outward and carry the fastening holes or slots. Staples or screws through the wings hold the plate tight to the wood so the whole face conducts, not just the groove.
Tubing and the assembly above
PEX or PEX-aluminum-PEX tubing, most commonly 1/2 inch, carries the water. Above the plate sit the subfloor and finish floor, or the drywall of a wall or ceiling. Everything above the plate is a resistance the plate has to push heat through.
Where the heat actually travels
Trace the path: water to tube wall, tube wall to plate groove, groove to plate wings, wings to subfloor, subfloor to finish floor, finish floor to the room. Each step is a resistance, and the plate only fixes the ones it touches. Insulation below the plates keeps the heat from taking the easier route down into the joist bay. A thick carpet above adds a resistance no plate can remove, so the water has to run hotter to push through it. Thinking of the floor as a stack of resistances, with the plate as the one you can improve most cheaply, is the whole design method in one sentence.
The line-up
Plate Types and Where Each Fits
Every heat transfer plate is aluminum with a groove for the tube and flat wings for fastening. Designs differ in metal thickness, how tightly the groove holds the tube, and whether the plate is a loose part hung under the floor, laid between sleepers on top of it, or built into a panel.
Extruded aluminum plates
Thick aluminum formed by extrusion with an omega or C-shaped groove that grips the tube around most of its circumference. The heavy section conducts heat quickly along and across the plate, and the tight groove keeps the tube in metal contact along its whole length. These are the highest-output plates and the ones specified when supply water temperature has to stay low. Double-tube and U-channel variants carry two runs in one plate or accept the tube from the face rather than the edge.
Highest output per foot and the lowest supply water temperature for a given floor.
Snug groove reduces expansion noise when installed flat and straight.
Highest material cost; heavier and slower to hang than thin plates.
Thin stamped snap-on plates
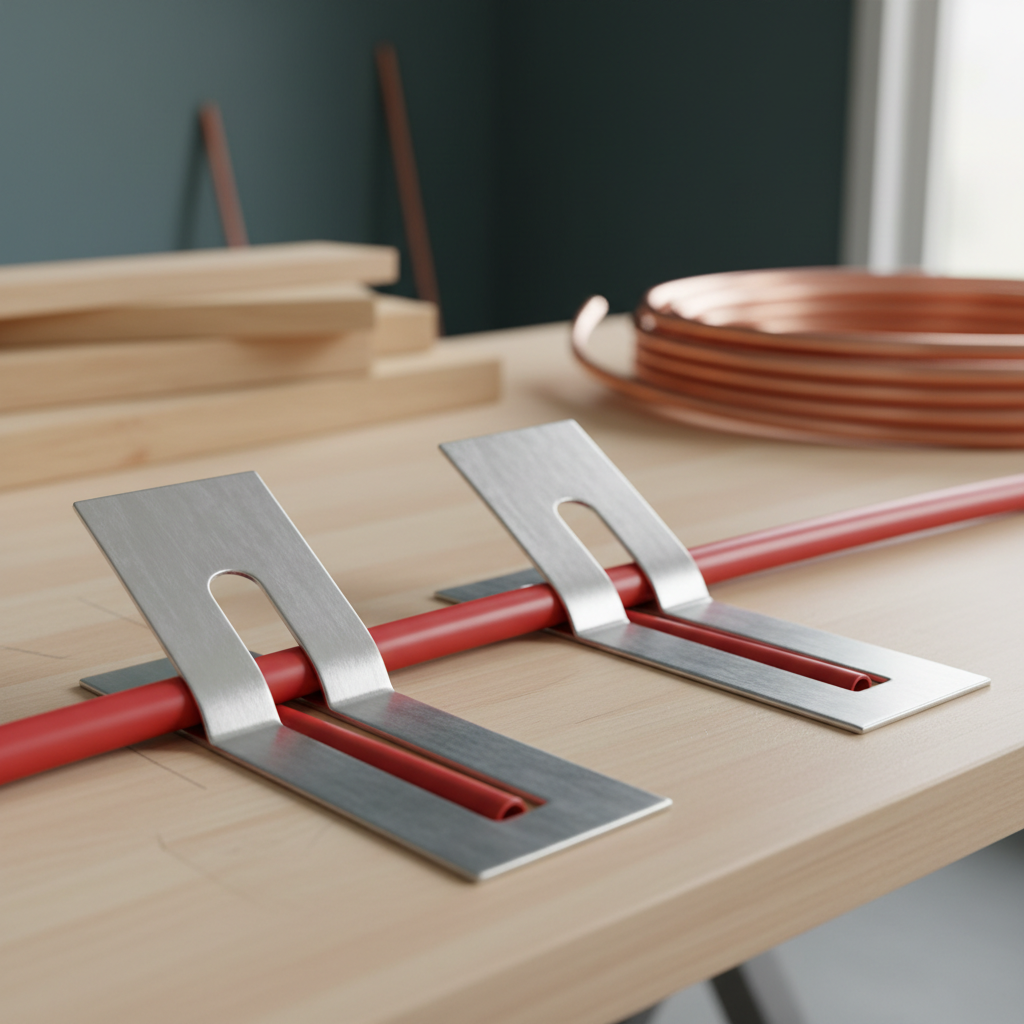
Light-gauge aluminum sheet with a pressed channel down the middle. The tube snaps or presses into the channel and the plate is stapled up on either side. They are inexpensive, fast to install and a large step up from bare tubing, but the thin section spreads heat less effectively and the channel usually grips the tube less tightly than an extrusion, so output per foot is typically lower and water temperature runs somewhat higher.
Lowest cost and the fastest to install; easy to trim and fit around obstructions.
Good fit for well insulated rooms with moderate heat loss.
Looser tube contact and thinner metal mean lower output than extruded plates.
Joist-space vs above-subfloor installs
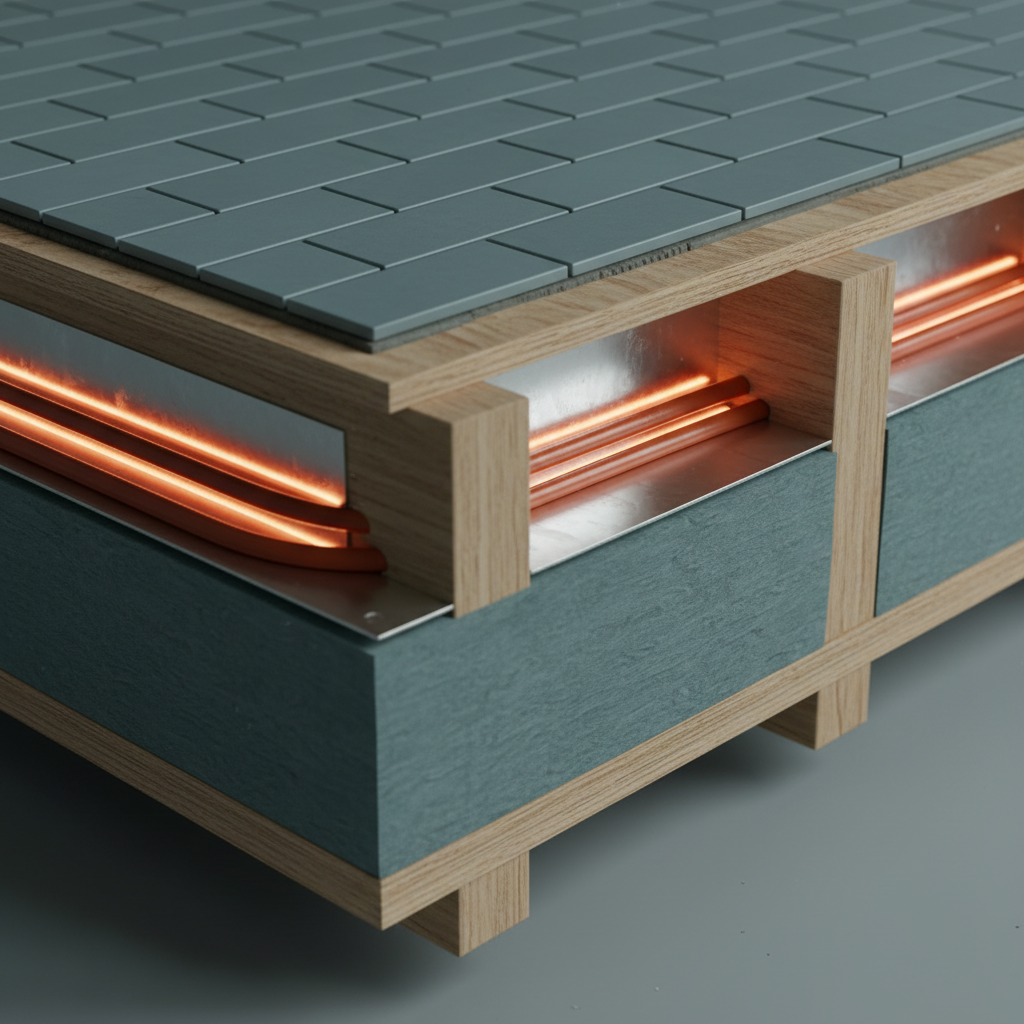
The same plates go in two places. In a joist-space install they are fastened to the underside of the subfloor from below, the usual approach for retrofits under an existing floor. In an above-subfloor or sandwich install, plywood sleeper strips are laid on top of the subfloor, plates and tube run in the channels between them, and the finish floor goes over the top. Above-subfloor plates sit directly under the finish floor, so they typically run cooler water and respond faster, at the cost of added floor height.
Joist-space: no change to floor height, done from the basement or crawlspace.
Above-subfloor: shorter heat path, lower water temperature, faster response.
Above-subfloor adds roughly the sleeper thickness to the finished floor level.
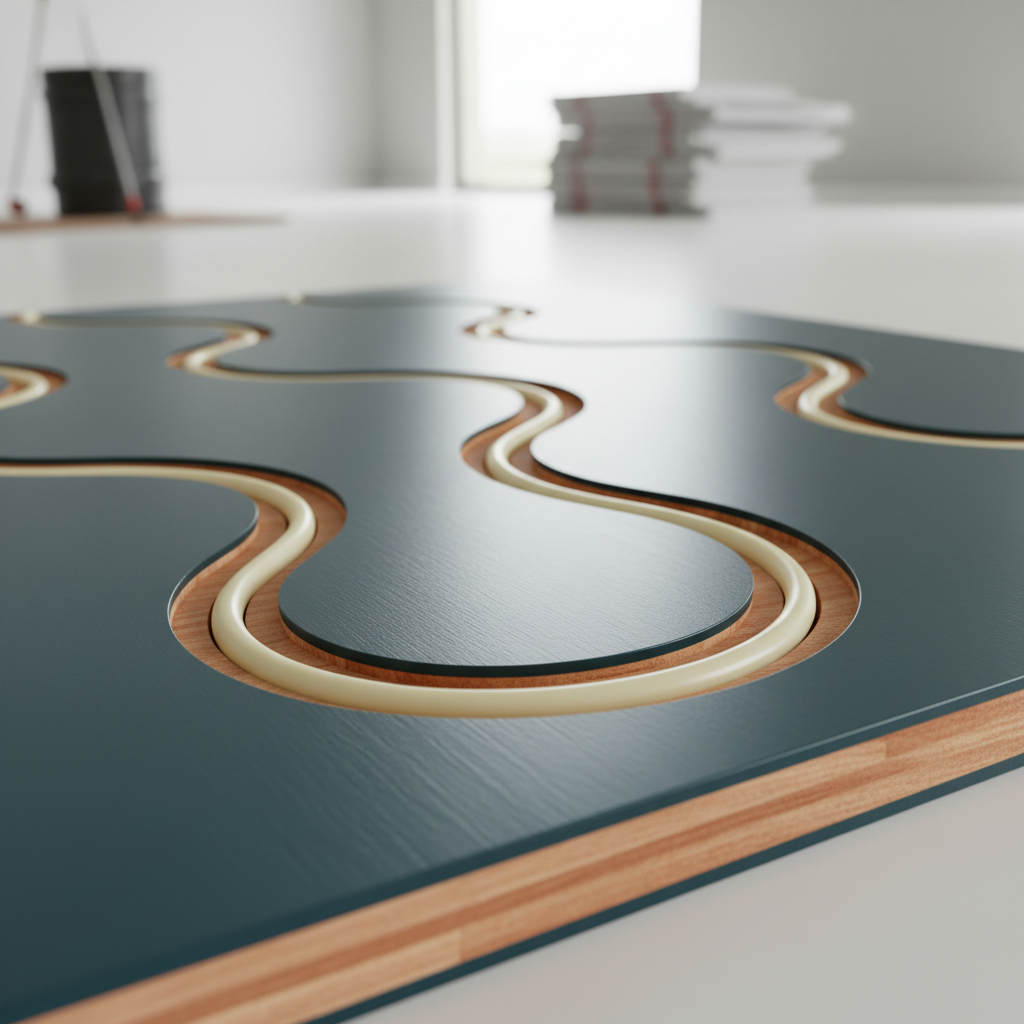
Grooved aluminum-faced panels
Engineered panels with the tube channel routed into a wood or composite core and an aluminum face bonded across the top, so the plate is built into the panel. The tube presses into the groove and the finish floor goes directly over. They combine the conduction of a full-coverage aluminum surface with a flat, ready-to-floor deck, and the turn pieces handle the loop ends. Panel systems carry the highest material cost and suit new construction and full remodels more than piecemeal retrofits.
Near-complete aluminum coverage directly under the finish floor.
Thin, flat and fast for new floors; loop turns are prefabricated.
Highest cost per square foot; less suited to under-floor retrofits.
Plates Compared to Plateless Staple-Up, Overpours and Panels
Plates are one of several ways to get tube heat into a wood-framed floor. Plateless staple-up is the cheapest and weakest. A thin slab or gypsum overpour embeds the tube in a conductive mass, with the weight and height that brings. Grooved aluminum-faced panels put the plate directly under the finish floor. The table sets them side by side; the right answer depends on the room's heat loss, the heat source and how much floor height the project can give up.
Approach
Response time
Supply water temperature
Output
Cost and noise
Floor height impact
Extruded plates
Fast
Typically lowest of the joist-space options
High
Higher material cost, quiet when fitted snugly
None below floor; adds sleeper depth if run above the subfloor
Thin stamped plates
Moderate
Moderate; commonly warmer than extruded
Moderate
Low cost, can tick if the channel is loose or buckled
None below floor; adds sleeper depth if run above the subfloor
Plateless staple-up
Slow
Typically the highest water temperature
Low
Lowest cost, prone to ticking against staples and wood
None
Thin slab or gypsum overpour
Slow to warm, then steady
Low, thanks to full tube embedment
High
Higher installed cost, essentially silent
Adds the pour thickness, commonly an inch or more, plus weight
Grooved aluminum-faced panels
Fastest
Low
High
Highest material cost, quiet
Adds the panel thickness above the subfloor
Typical Applications
Applications by project type
The plate does the same job everywhere: hold the tube and spread its heat into a wood surface. What changes is where the plate sits, what is above it, which way is up, and how cool the water has to be for the heat source on the other end of the loop.
Joist-space retrofits under existing floors
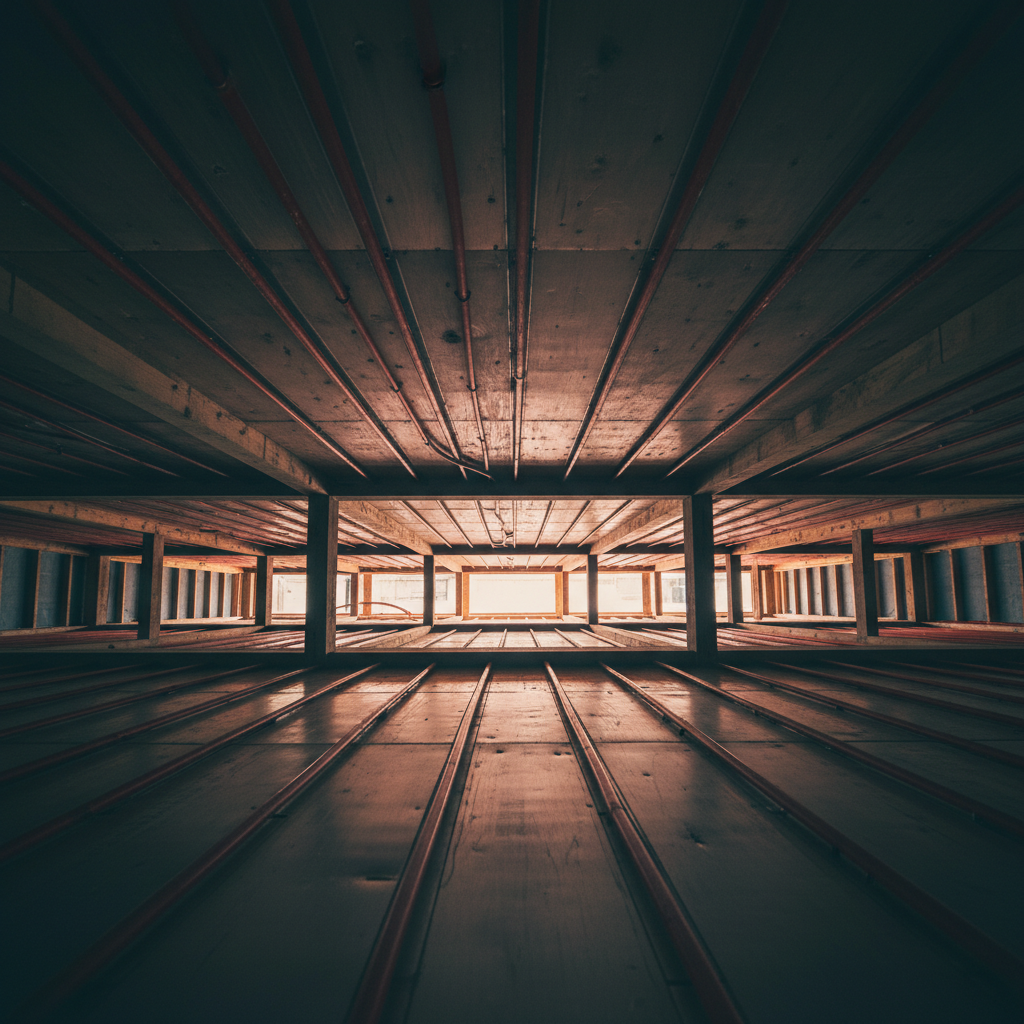
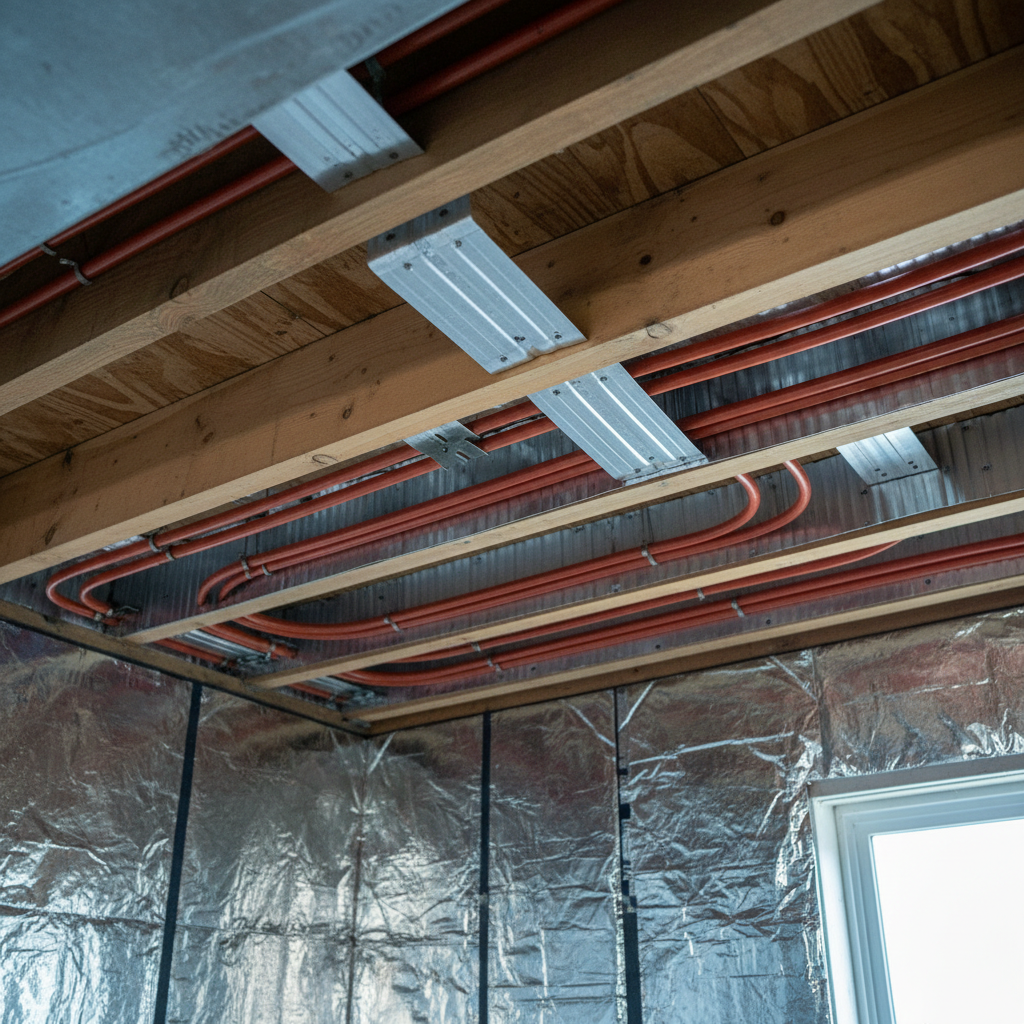
The most common plate job: adding radiant heat to an existing house from the basement or crawlspace without touching the finished floor. Plates are fastened to the underside of the subfloor between joists, tubing is snapped in and routed through drilled joists at the bay ends, insulation goes in below, and the ceiling is closed up. The plates are what make joist-space heating work: without them the heat has to cross an air gap, and the floor needs very hot water to deliver anything.
No change to finished floor height or existing flooring.
Plates fastened from below, tubing looped through the joists.
Insulation with an air gap below the plates is part of the system, not an option.
New construction above the subfloor
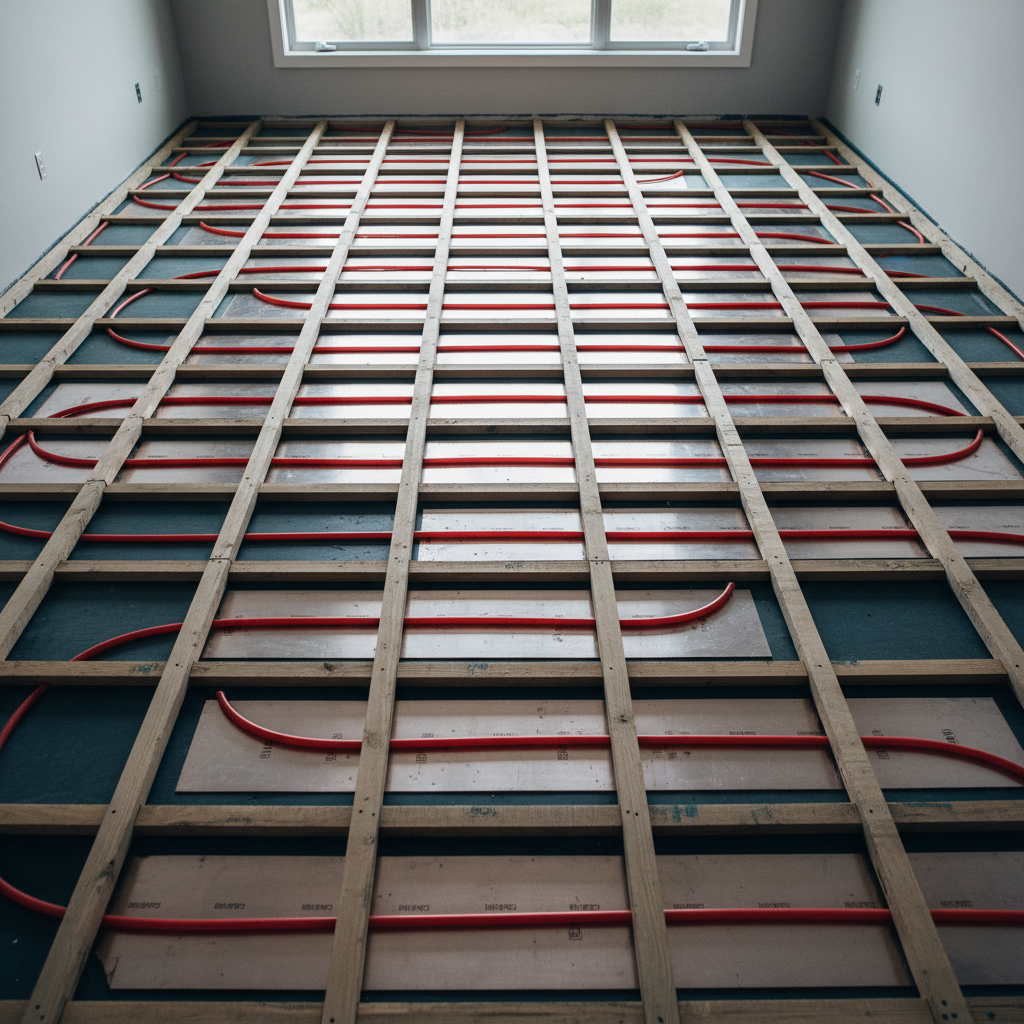
When the floor is open, plates can go on top of the subfloor in channels between plywood sleepers, or as grooved aluminum-faced panels, with the finish floor laid directly over. The heat path is then plate to finish floor with nothing in between, so the same room runs on cooler water and reacts faster than a joist-space install. Floor height rises by the sleeper or panel thickness, which the framing and door details need to allow for.
Shortest heat path and the lowest water temperatures of the plate options.
Sleepers or panels give a flat deck for hardwood, tile or engineered flooring.
Plan the added height into thresholds, stairs and cabinet toe kicks.
Radiant walls and ceilings
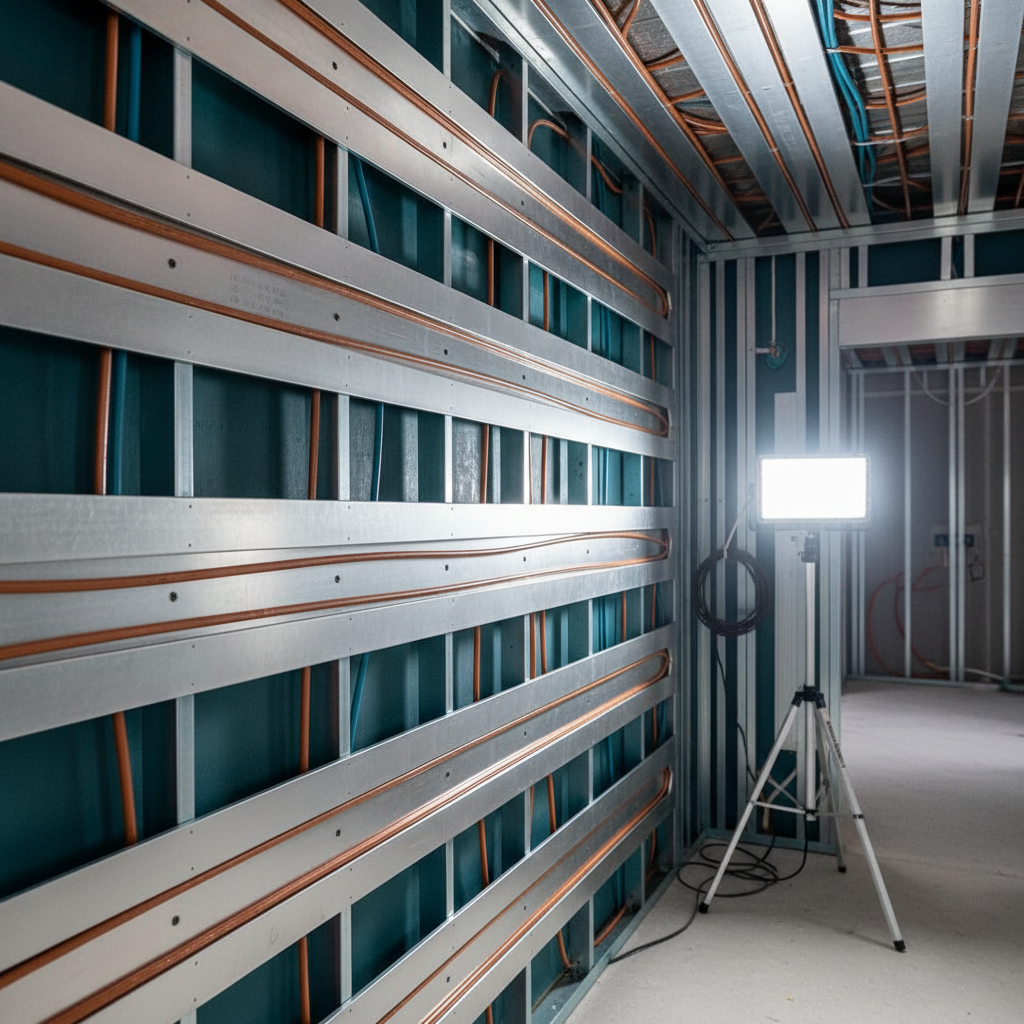
Where a floor is unsuitable, carpeted, tiled over slab, or already finished, plates go on the walls or ceiling. Plates are fastened across the studs or joists, tubing runs in the grooves, and drywall goes over. A ceiling has no furniture, rugs or floor covering to fight, and drywall is a thin, low-resistance finish, so plated ceilings and walls deliver useful output at modest water temperatures and are also used for cooling in some designs.
No floor covering resistance; drywall is a thin, predictable finish.
Ceilings are unobstructed by furniture and rugs.
Same plates, same tubing, same fastening rules as a floor.
Additions and remodels over wood floors
An addition or a gutted room is the moment to add plates: joists are open from below or the subfloor is exposed from above. Matching the new zone to an existing system means matching its water temperature, which is where plate type and coverage give the designer room to work.
Condensing boilers, heat pumps and solar thermal
Low-temperature heat sources need a low-temperature emitter. Extruded plates at close spacing and high coverage let a wood-framed floor deliver its design load on water cool enough for a heat pump to make efficiently, a condensing boiler to condense on, or a solar loop to supply for more of the day.
Single-room zones
Bathrooms, kitchens and mudrooms are often plated one room at a time, from below or during a floor replacement. A small zone with tile and a short loop is a good first radiant project, and plates keep the water temperature compatible with the rest of the system.
Sound-sensitive spaces
Bedrooms, offices and rooms below a plated floor are where expansion ticking gets noticed. Snug-groove plates, screws instead of staples, straight seated tube and steady water temperature control turn a noisy installation into a silent one.
Getting the Specification Right
Nine Criteria That Determine the Selection
A plated floor is specified once and lived with for the life of the house. A floor that needs hotter water than the heat source can make, or a carpeted room that never reaches temperature, cannot be fixed after the drywall goes on. Work through these before the plates are ordered.
01
Tube size and groove match
Plates are made for a specific tube diameter: 3/8, 1/2 or 5/8 inch PEX. The groove must match the tube exactly. A tube rattling in an oversized groove has an air gap where the heat is supposed to cross, and a tube forced into an undersized groove distorts the plate and adds noise. Confirm the tube size before ordering a single plate.
02
Plate gauge and thickness
Thicker aluminum moves heat further from the tube before it reaches the wood, so output rises and water temperature falls as gauge increases. Extruded plates are the thick end of the range; stamped plates the thin end. Ask for the actual metal thickness rather than a marketing grade, and compare plates on it.
03
Coverage percentage
The share of tube length that is actually inside a plate. Many designs run plates end to end along straight runs and leave only the loop ends bare. Coverage is a lever: more plates raise output and let water run cooler, fewer plates save money. Make sure the heat loss calculation and the plate order assume the same figure.
04
Spacing and plate width
Tube spacing of 8 or 12 inches on center is typical, with plate width chosen so the wings nearly meet between runs. Closer spacing raises output and evens the floor surface; wider spacing costs less. Two runs per 16 inch joist bay is a common joist-space layout. Cold exterior rooms and rooms with tall glass usually want the tighter spacing.
05
Insulation below the plates
Joist-space plates radiate downward as well as conducting upward, so the bay needs insulation under them with a small air gap between plate and insulation. Specify an R-value well above the resistance of the floor assembly above so heat is pushed up, and treat crawlspaces and garages as cold, ventilated spaces that need more.
06
Floor covering resistance
Tile and stone pass heat readily. Hardwood adds resistance and has surface temperature limits set by the flooring manufacturer. Carpet and pad add the most and can halve the output of a given floor. The covering sets the water temperature the plates have to run at, so it belongs in the design before the plates are chosen, not after.
07
Design supply temperature and output
Start with the room heat loss in BTU per hour per square foot of heated floor. Plate type, coverage, spacing and floor covering then set the supply water temperature needed to deliver it. If the heat source is a condensing boiler, heat pump or solar thermal, the design temperature ceiling comes from the source, and the plate specification has to meet it.
08
Fastening method
Staples are fastest; screws hold longer through years of thermal cycling and let a noisy plate be retightened. Fasten through the wings on both sides, keep the plate flat against the wood along its whole length, and leave a small gap between the ends of adjacent plates so they can grow without buckling.
09
Expansion noise
PEX lengthens as it heats and shortens as it cools, and the ticking people complain about is tube rubbing on staples, framing or plate edges. Plate design matters: a snug rounded groove holds the tube quietly, a loose thin channel lets it move. Installation matters more: straight tube, seated fully, no contact with bare wood, gentle water temperature control.
On the job
Installation and Commissioning, Stage by Stage
The plates are the cheap part of a radiant job and the part that decides how well it works. Most underperforming plated floors were installed loose, with tube half seated, gaps in coverage, or insulation left out. Each stage below is short, and skipping any of them costs more later than doing it now.
Stage
Goal
Practice
Layout and staggering
Set out tube runs and plate positions before hanging anything.
Mark the loop path on the subfloor or joists, keep runs straight, and stagger plate ends between adjacent runs so joints do not line up. Leave a small gap between plates in the same run for expansion.
Drilling and routing
Get tube from bay to bay without kinks or bare contact.
Drill joists per the framing rules for hole size and position, sleeve or protect the tube where it passes through, and keep bend radius generous at the bay ends where tube leaves the plates.
Fastening the plates
Hold the plate flat and tight against the wood.
Staple or screw through the wings on both sides at the spacing the plate design calls for. A plate that is not flat has air behind it, and air behind a plate is where the output goes to die.
Seating the tube
Full contact between tube wall and groove.
Press or snap the tube fully into the groove along the whole plate and check it has not lifted at the ends. Straighten the tube from the coil first; tube fighting its coil memory pulls out of the channel.
Insulation and air gap
Send the heat up, not down.
In joist-space installs, fit insulation below the plates leaving an air gap of a couple of inches, with the R-value the design calls for. Face any reflective layer toward the plates. Seal the bay ends over cold spaces.
Pressure test
Prove every loop tight before it is buried.
Pressurize each loop with air or water to the test pressure the designer or code specifies, commonly well above operating pressure, hold it, and recheck after temperature stabilizes. Do this before drywall, sleepers or flooring go on.
Fill, purge and balance
Air out, design flow in every loop.
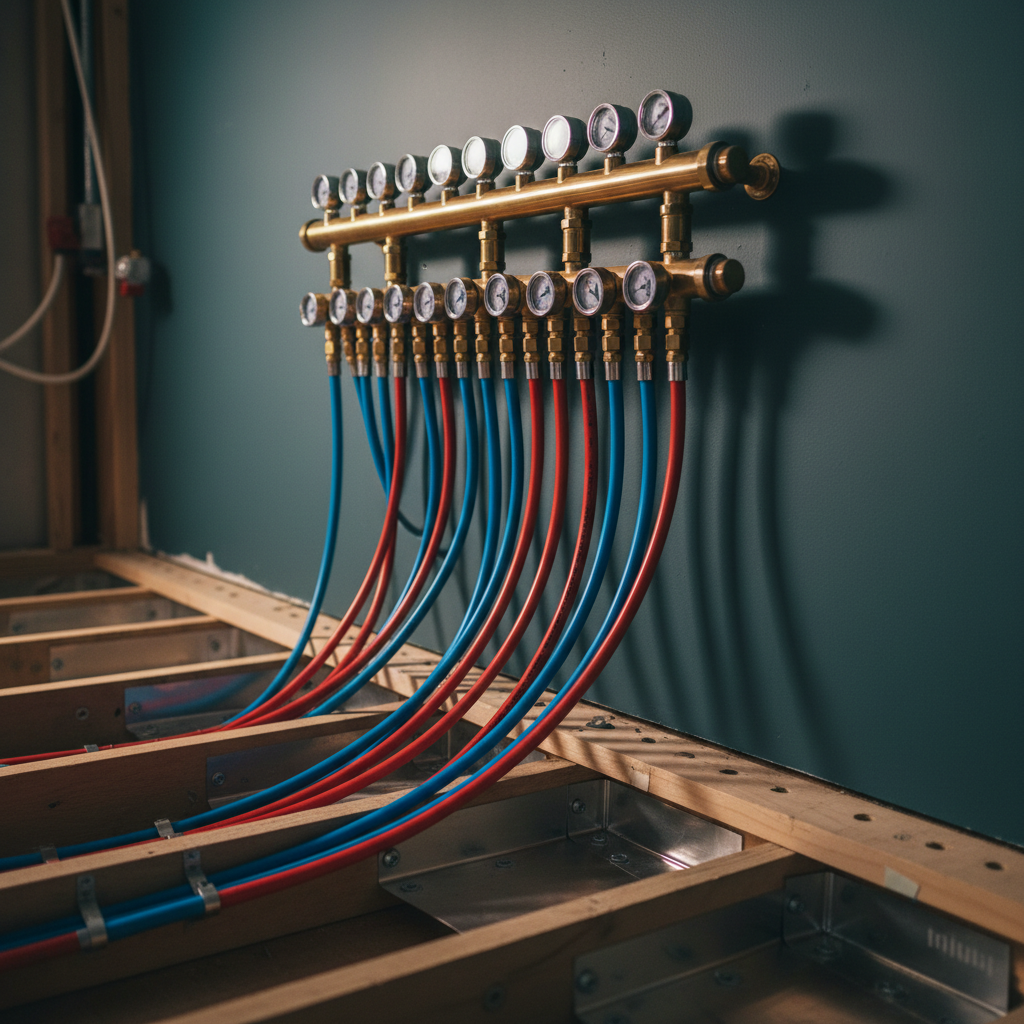
Fill and purge loop by loop at the manifold until no air returns, then set balancing valves so short and long loops each carry their intended flow. Record the settings.
First heat
Bring the floor up gently and listen.
Raise water temperature in stages, check surface temperature across the floor, and listen for ticking. Noise at first heat usually points to a plate not flat, tube on framing, or a run left loose.
In service
Maintenance for a Plated Zone
There are no moving parts under the floor. A plated radiant zone that was tested, insulated and balanced properly will run for decades with a seasonal look at the gauge and the manifold. What follows is the short list, plus how to bring a new zone up the first time.
Commissioning a Newly Plated Zone
1Confirm the pressure test held and was recorded before any finish was applied, then fill and purge each loop at the manifold until no air returns.
2Set the balancing valves so each loop carries its design flow, longer loops open further than short ones, and note the settings.
3Raise supply water temperature in stages rather than to the design setpoint at once, and hold at each stage long enough for the floor to respond.
4Walk the floor and check surface temperature across each room, looking for cold bands that point to a loop not flowing or plates left off a run.
5Listen from below and above for ticking as the system heats and cools, and fix the cause now while the plates are still reachable.
The plates themselves need nothing.
Aluminum plates behind drywall or under a subfloor do not corrode in a dry assembly, do not wear and do not lose conductivity. Once installed and quiet, they are done. Maintenance is about the system around them, not the plates.
Check system pressure on a schedule.
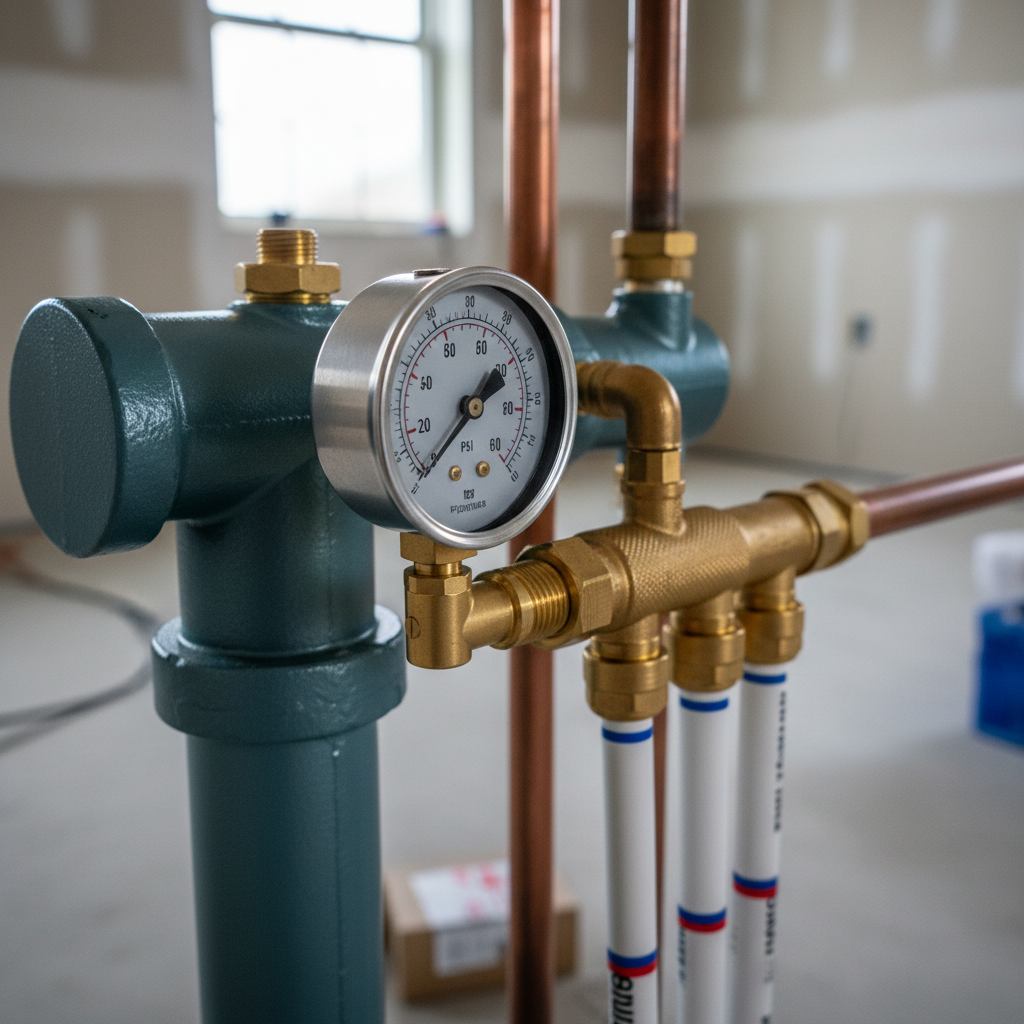
A slow drop on the system gauge means a leak somewhere, and a plated zone hides its tubing behind finishes. Read the pressure at the start of each heating season and after any work on the system, and compare against the commissioning record.
Inspect the manifold and visible connections.
Nearly all leaks in a plated system happen at fittings you can see: manifold connections, valve stems, air separators, and the tube ends where they meet the manifold. A look and a hand on each fitting once a season is enough.
Listen after the first cold snap.
New ticking after a season or two usually means a staple has loosened, a plate has worked away from the wood, or a tube has shifted onto bare framing. From below, a loose plate can be re-fastened in minutes; from above it is a reason to keep water temperature swings gentle.
Keep water temperature control steady.
Outdoor reset or a modulating source that ramps supply temperature slowly is kinder to tube, plates and finish floors than a fixed high setpoint cycling on and off. It also keeps hardwood within its surface temperature limits and lowers fuel use.
Keep the records.
Loop lengths, plate type and coverage, tube size and spacing, test pressure, balancing valve settings and the design water temperature. A future contractor, a flooring change or a new heat source all go better when someone knows what is under the floor.
Common questions
Heat transfer plate FAQ
What are heat transfer plates?
Heat transfer plates are aluminum plates, typically 4 to 6 inches wide and 2 to 4 feet long, with a groove that grips PEX tubing in a hydronic radiant heating system. The plate pulls heat out of the tube wall by conduction and spreads it across its own width, so the floor, wall or ceiling above is warmed across a broad band instead of a narrow stripe over the tube. They are fastened to the underside of a subfloor between joists, laid on top of a subfloor between sleepers, or built into grooved panels with an aluminum face.
Are these the same as the plates inside a plate heat exchanger?
No. The phrase is used for two different products. Plate heat exchangers use stacks of thin corrugated stainless steel plates, gasketed or brazed together, to pass heat between two separated fluids in boiler rooms, domestic hot water systems and process plants. This guide covers the other meaning: aluminum radiant heating plates that clip onto PEX tubing and conduct heat into a floor, wall or ceiling. If you need heat exchanger plates, you are looking for a different component.
Do I need plates, or can I just staple PEX to the underside of the subfloor?
Plateless staple-up works, but it moves heat mainly by heating the air in the joist bay, which then warms the subfloor. That path is slow and weak, so plateless systems commonly need high supply water temperatures to deliver modest output, and the floor responds slowly. Plates replace the air path with a metal conduction path, so the same floor typically delivers more heat at lower water temperature and reacts faster. For anything beyond a small, well insulated, lightly loaded room, plates are usually the difference between a floor that heats the house and one that only takes the chill off.
Extruded or thin stamped plates: which should I use?
Extruded plates are thick aluminum with a formed omega or C-shaped groove that grips the tube tightly, giving the best conduction, the highest output and the lowest supply temperature, at the highest material cost. Thin stamped plates are light-gauge sheet with a pressed channel that the tube snaps into; they cost less, install quickly and still outperform plateless installs, but contact is looser and output per foot is typically lower. Use extruded plates where heat loss is high, floor coverings are resistive, or a low-temperature heat source is planned. Thin plates suit well insulated rooms with modest loads and a forgiving budget.
What tube sizes and spacing do heat transfer plates fit?
Plates are made for a specific tube diameter, most commonly 1/2 inch PEX, with 3/8 inch and 5/8 inch versions also produced. The groove must match the tube; a 1/2 inch tube in a 5/8 inch groove leaves an air gap that defeats the purpose. Plate widths are typically sized so that one plate per tube run lands on 8 inch or 12 inch on-center spacing, with 8 inch spacing used for higher loads and cold rooms and 12 inch spacing for lower loads. In joist bays, two runs per 16 inch bay is a common layout.
How much of the floor should the plates cover?
Output rises with plate coverage because more of the subfloor is in metal contact with a tube. Many designs aim for plates along most of the tube length, leaving gaps only at the loop ends, at obstructions and where the tube bends. The coverage percentage is a design decision that balances output against plate cost: a room with high heat loss or a thick floor covering typically wants near-continuous plates at 8 inch centers, while a low-load room may perform well with wider gaps. Ask the designer for the plate coverage assumed in the heat loss calculation.
What supply water temperature does a plated floor typically need?
It depends on the heat loss, the floor covering, the plate type, coverage and spacing, so there is no universal figure. As a pattern, plateless staple-up systems commonly run the hottest water, thin stamped plates lower, and extruded plates or aluminum-faced panels lower still. Above-subfloor plates that sit directly under the finish floor typically run cooler than joist-space plates that heat through the subfloor. Lower design water temperature is what makes a plated floor a good match for condensing boilers, heat pumps and solar thermal, which all deliver more efficiently at lower temperatures.
Do heat transfer plates work with heat pumps and condensing boilers?
They are one of the main reasons those heat sources can run a wood-framed radiant floor at all. Air-to-water and ground-source heat pumps lose capacity and efficiency as the water they produce gets hotter, and condensing boilers only condense when return water is cool. Plates raise the floor's output at a given water temperature, which lets the designer lower the supply temperature to a range those sources handle well. Extruded plates at close spacing and high coverage give the most headroom; plateless staple-up usually gives too little.
Can heat transfer plates go under tile, hardwood or carpet?
Yes, with the floor covering treated as part of the design. Tile and stone conduct heat readily and suit radiant floors well. Hardwood works when the wood is dry, the surface temperature is kept within the flooring manufacturer's limits, and the water temperature is controlled; engineered products are often more tolerant than wide solid planks. Carpet and thick pad add resistance that raises the needed water temperature and cuts output, so a carpeted room typically wants extruded plates, tighter spacing, and a low-resistance pad. Always confirm the flooring manufacturer's limits for radiant use before finalizing the design.
Why do radiant floors tick or click, and do plates make it worse or better?
The noise is PEX expanding and contracting as water temperature changes and rubbing against wood, staples or the plate edge. Poorly designed or loosely fastened plates can amplify it, while a good installation reduces it. What helps: a groove that fits the tube snugly, plates fastened flat with no buckling, a small gap between the ends of adjacent plates, tube that is pulled straight and fully seated rather than forced, no tube touching bare wood at joist penetrations, and gentle water temperature control so the system does not swing between cold and hot. Some installers add a thin tape or sleeve where tube passes through framing.
What insulation goes below joist-space plates?
Plates conduct heat upward into the subfloor, but they also radiate downward into the joist bay, so insulation below them is not optional. The common approach is fiberglass or mineral wool batts, sometimes foil faced or with a reflective layer, installed below the plates with an air gap of a couple of inches between the plate and the insulation so heat moves upward rather than being trapped against a cold insulation surface. The R-value below the plates is typically specified to be well above the resistance of the floor assembly above, so that most of the heat goes up. Over an unheated crawlspace or garage, more insulation and careful air sealing pay for themselves.
How is a plated zone pressure tested and commissioned, and what maintenance do the plates need?
Before the floor or ceiling is closed up, each loop is pressurized, commonly with air or water at a pressure well above normal operating pressure, and held while every connection and the full tube run are checked, with the gauge rechecked after temperature has stabilized. Once filled, loops are purged of air, balanced at the manifold so each carries its design flow, and brought up to temperature in stages while surface temperatures and noise are checked. The plates themselves need no maintenance. Ongoing care is a periodic look at system pressure and manifold connections for leaks, and a listen for new ticking after seasonal cycles, which usually points to a loose plate or a tube rubbing on framing.
Talk to someone
Get a Quote for plates matched to your tubing and floor.
A plate order is a floor description, not a part number. Send the area, the tube size and spacing, what the floor is built from and finished with, and what will be heating the water. Your inquiry goes to someone who specifies plates for a living.
Heated floor area, room by room if the loads differ.
Tube size and on-center spacing, or ask for a recommendation.
Joist-space from below, above the subfloor, or wall and ceiling.
Floor construction and finish flooring: tile, hardwood, engineered, carpet.
Heat source and its design supply water temperature.
Room heat loss if a designer has calculated it.
For a retrofit: whether tubing is already installed and what plates, if any, are on it.